To enable you to capture live audio, using either your laptop’s built-in microphone or an external microphone plugged into the appropriate input, Ubuntu includes a simple program called Sound Recorder. To open it, from the Panel select Applications and type Sound Recorder in the Search bar. This will display the Sound Recorder icon. Click it to open the application.
When Sound Recorder starts, you’ll first want to check that you are getting a level from your microphone. In the File menu, select Open Volume Control. This will open Sound Preferences in a separate window. Click the Input tab and ensure that Mute is not checked. Speak into the microphone and adjust the Input Volume slider until an acceptable level registers in the Input Level meter . When you’re happy with the level, close Sound Preferences.
Next, choose your preferred audio file format from the Record As drop-down menu. By default, “CD Quality, Lossy (.ogg type)” is selected. This is the free Ogg Vorbis format discussed earlier in the “Choosing a Format” section. Alternative formats offered are AAC, FLAC, MP2, MP3, WAV, and Speex. On our test system, Ogg Vorbis worked well, but test recordings made in any other format failed to play back. Your mileage may vary.
Next, select Save As from the File menu and give your recording a name. When you’re ready to record, click the red Record icon in the toolbar or press Ctrl+R on your keyboard. To stop the recording, click the square stop icon or press Ctrl+X. To play back, click the green Play button or press Ctrl+P.
That’s pretty much all there is to Sound Recorder. It’s a very bare-bones. If you’d like a much more fully-featured audio recording program, with the facility to record multiple tracks, edit your recordings, and apply hundreds of sophisticated effects, open the Ubuntu Software Center and install Audacity.
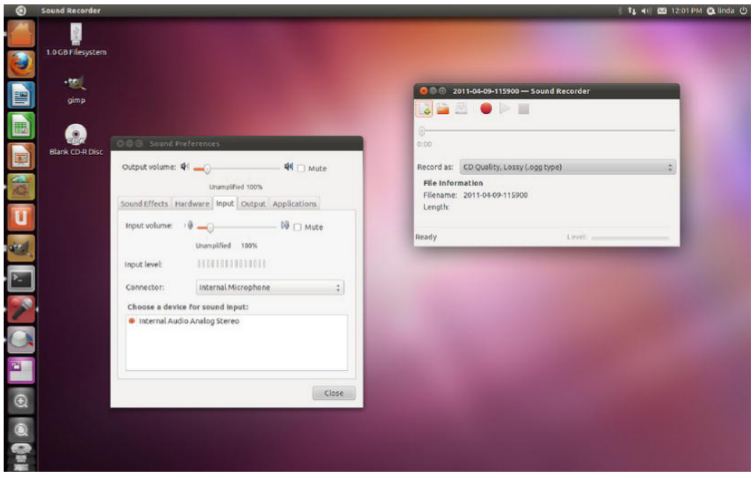
Figure . Before using Sound Recorder, you’ll want to make sure you’re getting a good input level from
your microphone.