You can create audio CDs using Brasero, which aims to be a complete CD-burning suite, like Nero under Microsoft Windows. It’s also possible to create audio CDs using only Ubuntu’s File Browser, but Brasero offers finer control over the process of compiling and burning your disc.
Start by inserting a blank CD. A dialog box will appear, asking what you want to do with the CD. The default choice of Open CD/DVD Creator isn’t what you want, because it will start the File Browser’s data CD creator, which is designed to write files to disc. Instead, click Open With Other Application from the drop-down list and select Brasero Disc Burner from the list of applications that appears. Then, in the parent dialog box, select Open Brasero Disc Burner from the drop-down list and then click the Add button if it isn’t already selected. To always have Brasero start automatically when a blank disc is inserted, select the Always Perform This Action check box before clicking OK.
When Brasero’s main window appears, it will by start with a new Data project by default. To switch to an audio CD project, click Project > New Project > New Audio Project.
The program is very simple to use:
1. You can open the location where your music files are stored by clicking the Home Folder icon and then clicking the Music folder. Click and drag them onto the Brasero program window. The files can be Ogg, FLAC, or MP3 files (if you installed the MP3 playback software, as described in the “Installing Codecs” section earlier in this chapter). Note that the Fluendo codec will also work for burning CDs from MP3 tracks.
2. You’ll see the track listing build up in the window where you dropped the selected tracks. In addition, at the bottom of the program window, you’ll see the estimated size of the project, shown in minutes. You’ll need to check the size of the CD you’re using on its packaging, but most blank CD-R discs can hold a maximum of between 70 and 80 minutes of audio.
3. Click and drag each track to rearrange them, if necessary, to create an ideal running order, as shown in Figure. When you’re satisfied with the track listing and are sure you haven’t exceeded the maximum allowed total time for the disc, click the Burn button to prepare your disc for burning.
4. In theProperties window that opens now, you can alter any details about the actual burning process, such as the burn speed. However, the default settings are usually OK. Click the Burn button to start the write procedure. First, the tracks are converted to pure audio files, and their volume levels adjusted so no track is louder than any other (something known as normalization). Then they’re actually burned to disc. This can take some time. When Brasero finishes with the burning, the CD will be ejected.
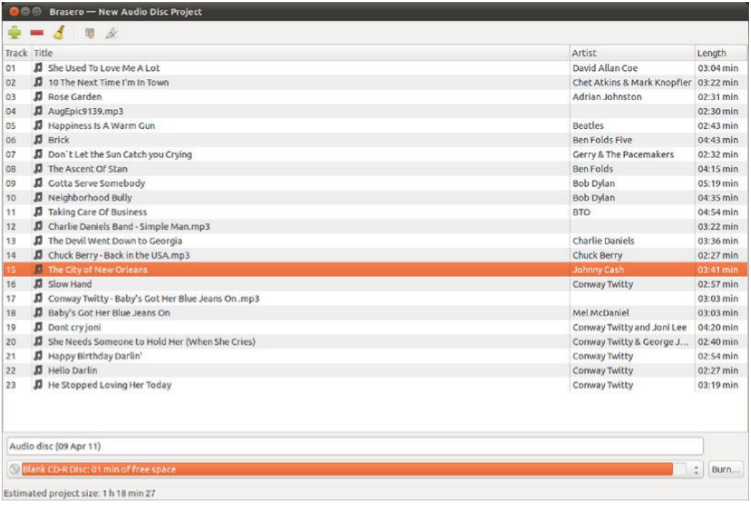
Figure . Brasero makes it easy to create CDs from digital audio files.