To create a link in HTML, you need two things:
- The name of the file (or the URL) to which you want to link
- The text that will serve as the clickable link
Only the text included within the link tag is actually visible on your page. When your readers click the link, the browser loads the URL associated with the link .
The Link Tag: <a>
To create a link in an HTML page, you use the HTML link tag <a>…</a> . The <a> tag is also called an anchor tag because it also can be used to create anchors for links. The most common use of the link tag, however, is to create links to other pages.
Unlike the tags you learned about in the preceding lesson, the <a> tag requires attributes in order to be useful. You’ve seen optional attributes for tags, and attributes like style that can be used with basically any tag. The <a> tag uses attributes to define the link. So, rather than the opening <a> tag having just the tag name inside brackets, it looks some-
thing like the following:
<a href=”menu.html” title=”The Twelve Caesars“>
The additional attributes (in this example, href , and title ) describe the link itself. The attribute you’ll probably use most often is the href attribute , which is short for hyper-text reference . You use the href attribute to specify the name or URL to which this link points.
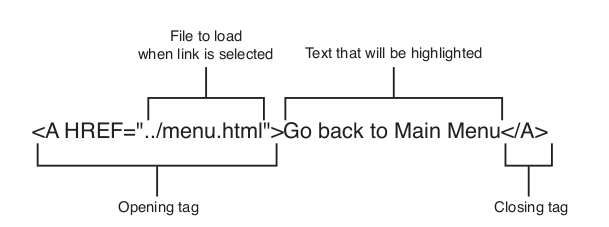
Like most HTML tags, the link tag also has a closing tag, </a> . All the text between the opening and closing tags will become the actual link on the screen and be highlighted, underlined, or otherwise marked as specified in the page’s style sheet when the web page is displayed. That’s the text you or your readers will click to follow the link to the URL in the href attribute.
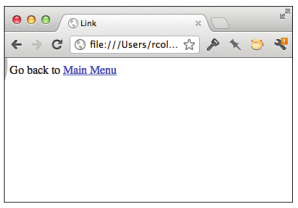
Input ▼
Go back to <a href=”menu.html”>Main Menu</a>
Output ▼