Yii is an open-source, high-performance, flexible, efficient and secure PHP framework for rapidly building modern Web applications. It is a generic and full-stack web programming framework for writing code in an object-oriented fashion and provides many proven and ready-to-use features.
Yii Features
Here are some of Yii’s key features:
- A pure OOP-based framework.
- A component-based architecture.
- Implements the MVC (Model-View-Controller) architectural pattern.
- Supports query builders and ActiveRecord for both relational and NoSQL databases.
- Multi-tier caching support.
- RESTful API development support.
- It’s extremely extensible allowing users to customize or replace any piece of code right from the core. Besides, users can use or develop redistributable extensions.
Requirements
- A running instance of the CentOS 8 server.
- A LAMP or LEMP stack with PHP 5.4.0 or above.
- A Composer – an application-level package manager for the PHP.
Installing Yii Using Composer
There are several ways to install Yii, but the recommended way to install Yii is using Composer package manager, as it allows you to update Yii with a single command and also enables you to install new extensions.
If you do not already have Composer installed on your CentOS 8 server, you can install it by running the following commands.
# curl -sS https://getcomposer.org/installer | php
# mv composer.phar /usr/local/bin/composer
# chmod +x /usr/local/bin/composer
With Composer installed, you can install the latest stable version of Yii application template under an Apache or Nginx Web-accessible directory called testapp. You can select a different directory name if you want.
# cd /var/www/html/      [Apache Root Directory]
OR
# cd /usr/share/nginx/html/   [Nginx Root Directory]
# composer create-project --prefer-dist yiisoft/yii2-app-basic testapp
After installation is complete, either configure your web server (see next section) or use the integrated PHP web server by executing the following command in the testapp project root directory.
# cd testapp
# php yii serve
Note: By default, the HTTP-server will listen to port 8080. However, if that port is already in use, you can use the different port by adding --port the argument as shown.
# php yii serve --port=8888
Now, open your browser and type the following URL to access the installed Yii application.
http://localhost:8888
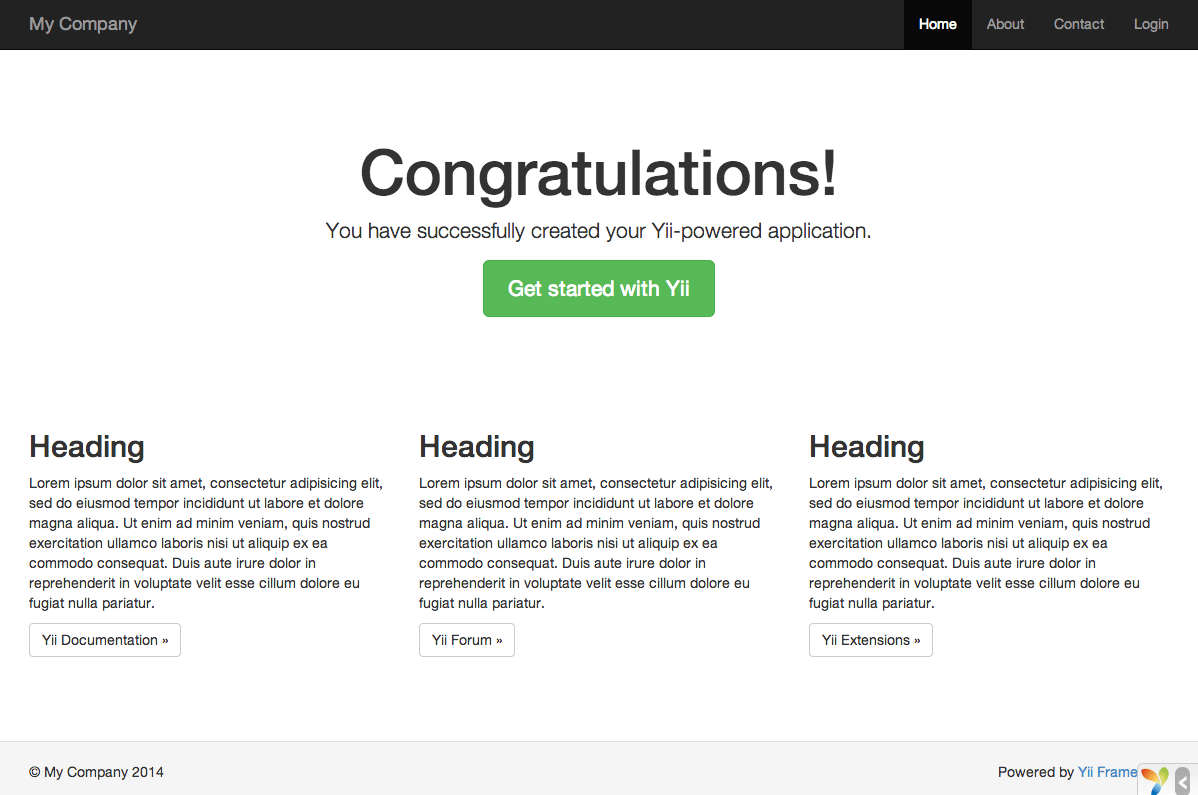
Yii Application
Configuring Web Servers for Yii
On a production server, you might want to configure your webserver to serve the Yii web application via the URL http://www.example.com/index.php instead of http://www.example.com/basic/testapp/index.php. In that case, you must point your web server document root to the testapp/web directory.
Recommended Nginx Configuration
Create a configuration file called /etc/nginx/conf.d/testapp.conf.
# vi /etc/nginx/conf.d/testapp.conf
Next, copy and paste the following configuration in it. Remember to replace tecmintapp.lan with your domain name and /usr/share/nginx/html/testapp/web with the path where your app files are located.
server {
    charset utf-8;
    client_max_body_size 128M;

    listen 80; ## listen for ipv4
    #listen [::]:80 default_server ipv6only=on; ## listen for ipv6

    server_name tecmintapp.lan;
    root        /usr/share/nginx/html/testapp/web;
    index       index.php;

    access_log  /var/log/nginx/access.log;
    error_log   /var/log/nginx/error.log;

    location / {
        # Redirect everything that isn't a real file to index.php
        try_files $uri $uri/ /index.php$is_args$args;
    }

    # uncomment to avoid processing of calls to non-existing static files by Yii
    #location ~ \.(js|css|png|jpg|gif|swf|ico|pdf|mov|fla|zip|rar)$ {
    #    try_files $uri =404;
    #}
    #error_page 404 /404.html;

    # deny accessing php files for the /assets directory
    location ~ ^/assets/.*\.php$ {
        deny all;
    }

    location ~ \.php$ {
        include fastcgi_params;
        fastcgi_param SCRIPT_FILENAME $document_root$fastcgi_script_name;
        #fastcgi_pass 127.0.0.1:9000;
        fastcgi_pass unix:/run/php-fpm/www.sock;
        try_files $uri =404;
    }

    location ~* /\. {
        deny all;
    }
}
Save the file and restart the Nginx to effect the recent changes.
# systemctl restart nginx
Recommended Apache Configuration
Use the following configuration in Apache’s httpd.conf file or within a virtual host configuration.
# Set document root to be "testapp/web"
DocumentRoot "/var/www/html/testapp/web"

<Directory "/var/www/html/testapp/web">
    # use mod_rewrite for pretty URL support
    RewriteEngine on

    # if $showScriptName is false in UrlManager, do not allow accessing URLs with script name
    RewriteRule ^index.php/ - [L,R=404]

    # If a directory or a file exists, use the request directly
    RewriteCond %{REQUEST_FILENAME} !-f
    RewriteCond %{REQUEST_FILENAME} !-d

    # Otherwise forward the request to index.php
    RewriteRule . index.php

    # ...other settings...
</Directory>
Save the file and restart the Apache to effect the recent changes.
# systemctl restart httpd
Testing Yii Web Application Via a Browser
Before testing our Yii web application make sure to update the security context of the /web/assets/ directory to make it writable to the web process, by running the following command.
# chcon -R -t httpd_sys_content_rw_t '/usr/share/nginx/html/testapp/web/assets/' [for Nginx]
# chcon -R -t httpd_sys_content_rw_t '/var/www/html/testapp/web/assets/'         [for Apache]
Next, update your firewalld rules to allow HTTP and HTTPS requests through the firewall to the Nginx server.
# firewall-cmd --zone=public --add-service=http --permanent
# firewall-cmd --zone=public --add-service=https --permanent
# firewall-cmd --reload
Finally, test if your web application working fine and is being served by Nginx or Apache. Open a web browser and point it to the following address:
http://tecmintapp.lan
The default Yii application web page should display as shown in the following screenshot.
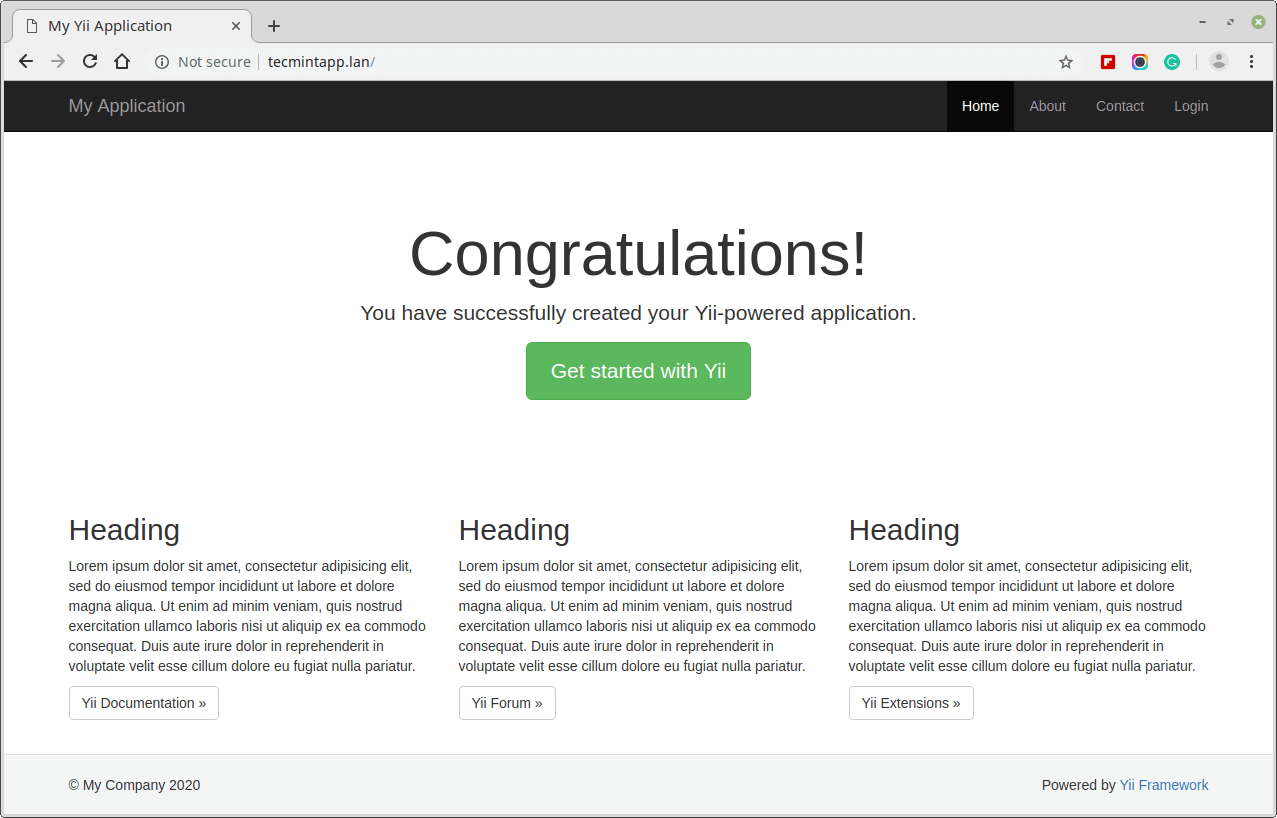
Yii Web App Page
Congratulations! You have successfully installed the latest generation of the Yii PHP framework and configured it to work with Nginx or Apache on CentOS 8.