In the last few years ever-increasing processing and storage capacity led to reduction of their costs. It soon became evident how much efficiency could be gained just by outsourcing those resources to the cloud.
Ubuntu, or Linux for that matter, is not a cloud-centric operating system the way Google Chrome OS is. It still relies on the local PC for most of its operations. Nonetheless, Natty Narwhal comes equipped with some functionality that allows you to have the best of both worlds, by making the most of your PC’s hardware resources, while being able to use cloud-based services transparently.
Storing Your Data Online with Ubuntu One
Ubuntu One is an online storage and synchronization service operated by Canonical Ltd. This means it provides you with space in the cloud and synchronizes its content with your computers. It is not the first service of this kind to have hit the market. Dropbox and Live Mesh have similar functionality. Nonetheless, it has certain characteristics that make it a good choice for Ubuntu users, namely its capacity for synchronizing notes and contacts between several computers (in addition to just storing files). Currently, only Ubuntu clients are supported, although a beta version for Windows that only synchronizes files is currently available.
Ubuntu One subscriptions come in two flavors. A basic subscription is available for free, and it enables you to store up to 2GB of personal information on Ubuntu One servers. If you need more space, you can upgrade your subscription to a 20GB plan, for a monthly fee (at the time of writing, the fee was $2.99 a month).
In order to use Ubuntu One, you must first subscribe to the service and then configure your computers to connect and synchronize files, notes, and contacts.
Subscribing to Ubuntu One
Follow these instructions to create your account and subscribe to the free Ubuntu One service.
1. Click on the Ubuntu One launcher.
2. Click “Join Now.”
3. Complete the Create Ubuntu One account window with your name, e-mail address, and password. You also need to fill the captcha to continue.
4. The service will send you an email with a verification code. Upon receiving you can enter the code in the next window to enable your Ubuntu One account (this is the same account that you will use to rate and review applications.
Configuring Your Computer to Synchronize Files
After the subscription is created, you can start synchronizing folders and other information. The concepts behind Ubuntu One Synchronization are simple. You create an account that reserves space in the Ubuntu One online service. A special Ubuntu One folder is created in your home directory and files stored there are automatically synchronized to Ubuntu One. If there’s more than one computer associated with your Ubuntu One account, files will be synchronized to them all. If you install the advanced features, you can also synchronize notes and contact information.
Click the Ubuntu One launcher icon to open the Ubuntu One Control Panel. Here you can configure different options. On top of the window you will see how much space you’re using compared with the amount available (depending on your plan) and the current status of the synchronization process, whether if all files are up to date or if file synchronization is in progress.
On the Account tab you can edit your personal information and change your storage plan. In both cases you will be taken to the Ubuntu One web page.
The Cloud Folders tab allows you to granularly select which online folders you want to synchronize with this particular computer. Maybe you have many computers associated with your account and don’t want all the files on all your computers at the same time. You have to do this selection on each computer where the default selection does not apply.
In the Devices tab you can see all the computers and mobile devices currently associated with your account. You can deauthorize a device and it will stop synchronizing files or other information. In the Services tab you can enable or disable which services will synchronize with Ubuntu One. By default only file synchronization is available, but you have the option to install an additional package, desktopcouch-ubuntuone, to expand Ubuntu One’s capabilities. You can install it through Ubuntu Software Center, or by clicking the Install now button at the bottom of the window in the Services tab.
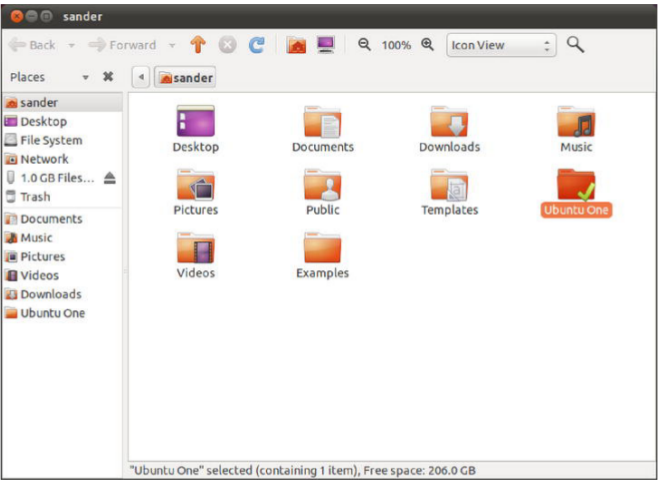
Figure . The Ubuntu One folder inside Nautilus
A notification will appear when Ubuntu One is synchronizing files, and when it finishes doing so. When a file is being synchronized, Nautilus will display a special emblem, called ubuntuone-updating, with two arrows, one green and one blue, pointing each other in a circular fashion. When synchronization has finished, the emblem changes to ubuntuone-synchronized, which is a large green checkmark.
You can also share folders with other Ubuntu One users. To do this, right-click a subfolder of Ubuntu One in Nautilus and select the option Ubuntu One ➤ Share… You will need to provide the e-mail address of the person you want to share the folder with, and that e-mail account must be associated with an Ubuntu One subscription.
If other people share their folders with you, you will see them in the subfolder Shared with Me, inside Ubuntu One in Nautilus.
Synchronizing Notes
Another kind of information that you can synchronize with Ubuntu One is Tomboy Notes. Tomboy is an application that allows you to take notes, which comes installed by default in Natty Narwhal. Each note consists of a title and a body.
To configure the application follow these steps:
1. Access the Tomboy Notes application, available in the Applications Item in the Unity Panel.
2. Once the application opens, click the Edit menu and select Preferences.
3. Click the Synchronization tab and select the option Ubuntu One in the Service drop-down list, as shown in Figure.
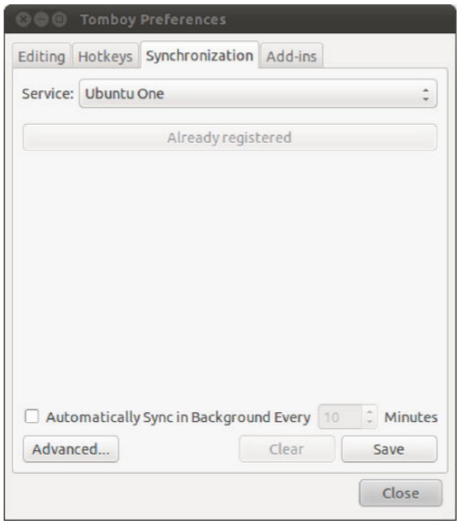
Figure. Tomboy Notes Synchronization options.
4. If you have already registered your computer and associated it with an Ubuntu One account, you are ready to go. Otherwise you’re granted the opportunity to create an account or sign in with an existing account at this moment.
5. Go back to Tomboy and click Save to start synchronizing notes.
From that point onwards, your notes will be synchronized to Ubuntu One, and from there to any other computers that you configure with the same Launchpad account.
Synchronizing Evolution Contacts
You can also synchronize Evolution contacts. First you need to install the desktopcouch-ubuntuone additional package, as was mentioned earlier. Then go to the Services tab in the Ubuntu One Control Panel and, in the section Enable Contact Sync, press the Install now button. This step will install the package evolution-couchdb.
1. Open Evolution, available in Applications Office. If this is the first time you open Evolution, you will need to create an account.
2. Access the Contacts section of Evolution.
3. Only contacts residing in the CouchDB > Ubuntu One Address Book will be synchronized. If you already have contacts created in other address books, you can copy them by expanding the Action menu and clicking on the option Copy All Contacts to… Select CouchDB > Ubuntu One as the destination Address Book.
4. You can also set the CouchDB > Ubuntu One Address Book as the default by selecting its properties and checking the option “Mark as default address book.”
Accessing Your Information on the Web
Now that you have configured synchronization, you don’t need your PC to access your information stored on Ubuntu One. All you need is a web browser.
Go to http://one.ubuntu.com and log in with your Ubuntu One account. You will be presented with a web page from where you can go to the files, notes, and contacts sections as if you were on your PC. You can also administer the list of PCs associated with this Ubuntu One subscription by clicking the My Account link in the top right of the page and clicking the View the machines connected to this account link.
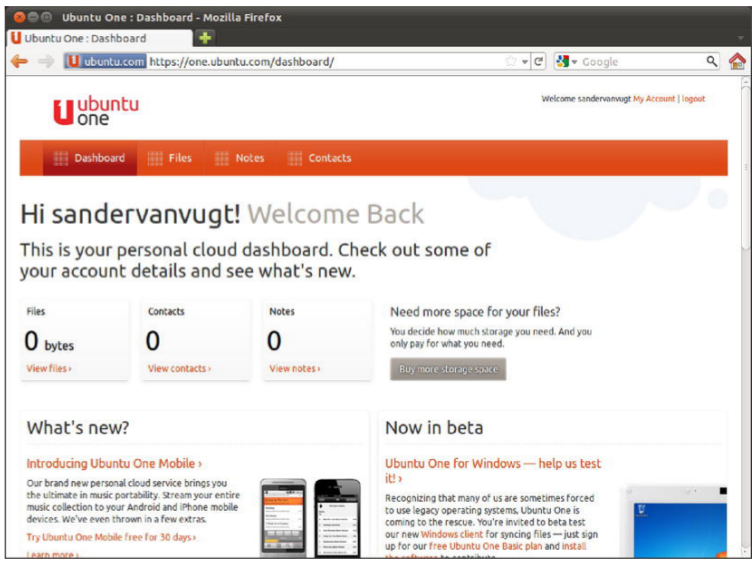
Figure . The Ubuntu One web page.